Pink Batts Installation Guide
Everything you need to know for a professional ceiling and wall insulation install — safety, tools, and step-by-step techniques.
Everything you need to know for a professional ceiling and wall insulation install — safety, tools, and step-by-step techniques.
Download and start improving your space
Reaches full thickness within 24 hours of installation. Extended compression may reduce performance. R-value may vary depending on installation.
Maintain at least 50mm clearance around downlights and recessed fixtures. Avoid using small batt pieces to surround fixtures. Over-insulating electrical equipment may cause overheating.
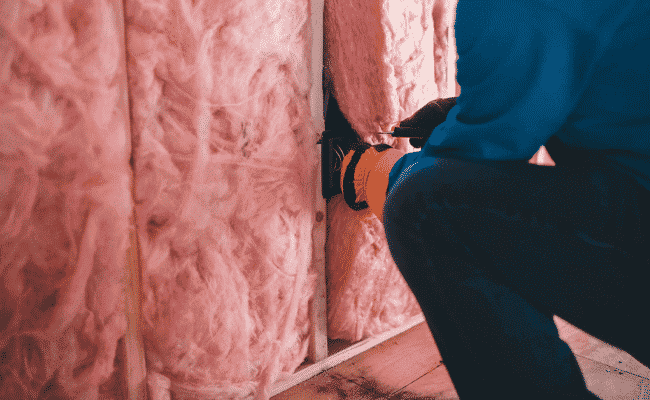
Sharp knife, kneeling board, lighting, gloves, dust mask, goggles, ladder, batt poker, staple gun with non-metallic staples, string/twine, and safety shoes.
Turn off power at the fuse box before starting. Measure stud spacing and calculate the area to be insulated to determine the number of packs needed.
For flat ceilings, friction-fit batts between joists and butt edges tightly. For raked ceilings, install before plasterboard. For walls, fit insulation into frames without gaps; use a vapour-permeable wrap for fibre cement or weatherboard cladding.
Glasswool insulation is not recommended for external wall full fill cavity applications.
Friction fit the insulation into the wall frames ensuring there are no gaps between the insulation and studs or noggins.